


Step-by-Step Guide to Creating Your First Website with HTML and CSS
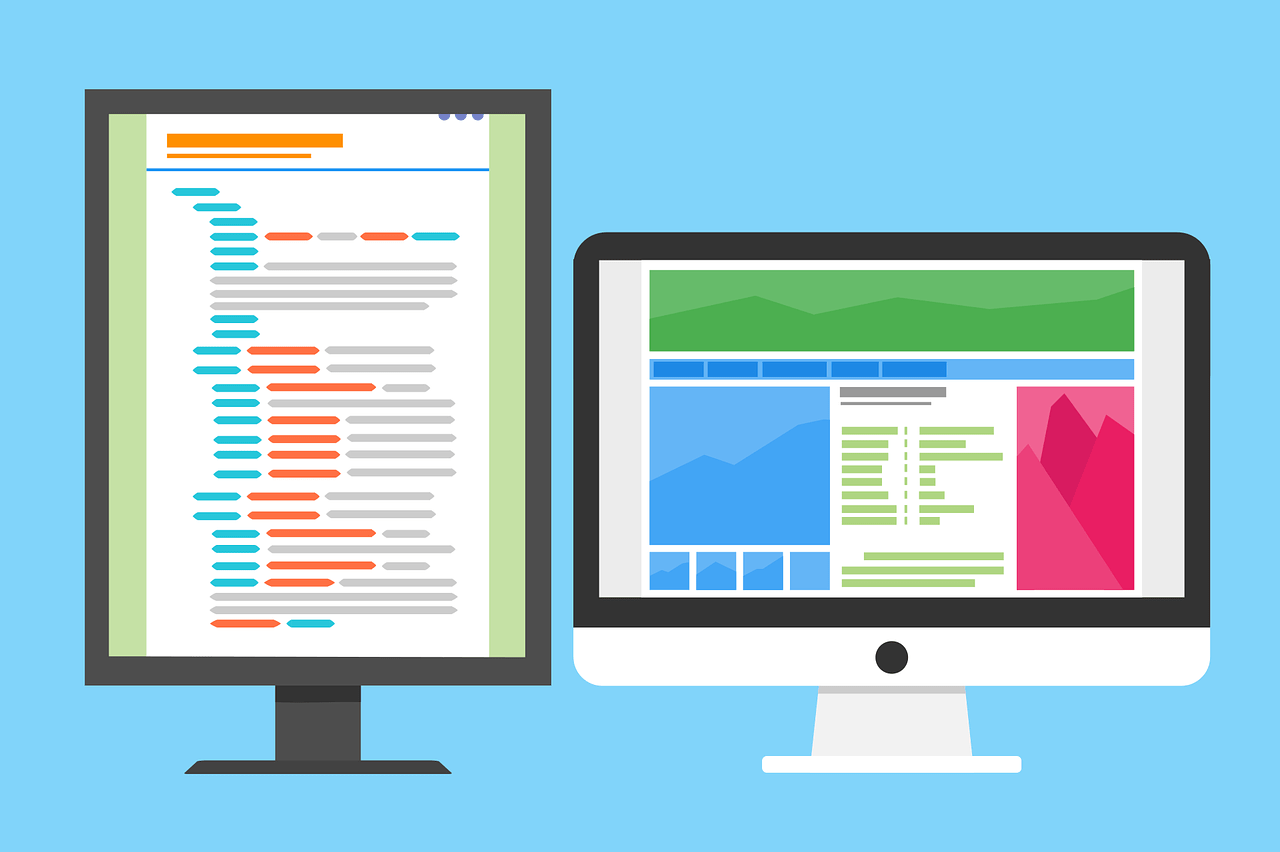
Table of Contents
Introduction
Creating your first website with HTML and CSS will surely be one of the milestones of your journey in web development and will give you pleasure when seeing your website on browser. HTML and CSS are the fundamentals to create a website, so using it you will be able to structure a good-looking site. We will take you through this guide from the basics to having your first completed website up and running on the browser so join us in the journey of creating your first website from scratch to a good-looking site.
Understanding the Basics of HTML and CSS
What is HTML?
In simple words, HTML is the skeleton of a website likewise our body’s skeleton without muscles or skin. HTML stands for HyperText Markup Language and it is the standard language that is used to create web pages on the internet. It uses the tags to identify images, texts, paragraphs, and other content. Just imagine that HTML is a skeleton of the webpage but it does not determine the looks or appearance of web pages like it is color, borders, and typography, etc.
For example, a simple HTML structure looks like this:
<!DOCTYPE html>
<html lang="en">
<head>
    <meta charset="UTF-8">
    <meta name="viewport" content="width=device-width, initial-scale=1.0">
    <title>My First Website</title>
</head>
<body>
    <header>
        <h1>Welcome to My First Website</h1>
    </header>
    <main>
        <p>This is where the main content goes.</p>
    </main>
    <footer>
        <p>© 2024 My Website</p>
    </footer>
</body>
</html>
Output
What is CSS?
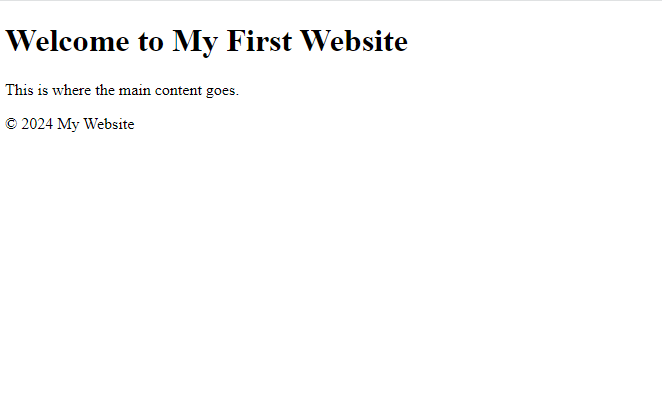
Cascading Style Sheets are used for the structuring and layout of web pages. CSS takes charge of the visual presentation aspects of the webpage, which involves colors, fonts, and layouts, whereas HTML handles the structure of a page. It enables you to change this simple HTML structure into a refined and beautiful design.
body {
    font-family: Arial, sans-serif;
    background-color: #f4f4f4;
    color: #333;
    margin: 0;
    padding: 0;
}

header {
    background-color: #0073e6;
    color: #fff;
    padding: 20px;
    text-align: center;
}
Output
How HTML and CSS Work Together
HTML and CSS work together in a sense to make website content and styling it. HTML helps to provide a layout or structure of the website on the other hand CSS helps you to style elements of HTML to make HTML elements beautiful.
Setting Up Your Project Environment
Before moving on to the actual coding, set up a clean and efficient project environment. This type of preparation is what makes it possible for you to be very effective, keep your code organized, and avoid many of the common pitfalls in developing your very first website. Here’s how to set up your project environment step by step:
1. Choosing the Right Code Editor
The first step in setting up your project involves selecting the suitable code editor for developing your first website in that code editor you will easily write HTML, CSS as well as JS code without any hesitation. Some of the famous code editors used by web developers are
Visual Studio Code (VS Code):
With its long list of features, plugins, and customization, VS Code is friendly to many developers. It has an integrated terminal, integration with Git, and a large library of extensions that can make your development experience much better.
Sublime Text
Sublime is a Fast, lightweight editor with a simple interface. This should be fine if someone wants to keep things as simple as possible without giving up on functionality.
Atom
Atom is also a very popular code editor among programmers. It is an open-source software developed by GitHub it offers highly customization options and provides excellent collaboration features along with perfect integration with GitHub repositories.
Therefore, choosing the proper editor is dependent on personal preference and some special features desired in the project at hand. In fact, all of these editors equally support syntax highlighting, auto-completion, and other features needed to make coding easier.
2. Creating Your Project Structure
Now that you have chosen a code editor, it’s time to create a good, well-structured project folder. Folder clarity will help keep your files organized as your project develops. Here’s a simple setup:
Root Directory:
This is the topmost folder that will contain all the files and subfolders. Call this something like MyFirstWebsite or something else according to your choice.
HTML File
Create an index.html file in your root directory. This typically serves as a main file for your website and will contain the structure of your website.
CSS Folder
Inside your root directory, create a CSS folder to maintain all your stylesheets. Within the folder, make a style.css file where you will write your CSS code that will style your website.
JavaScript Folder:
Similarly, Create a JS folder in your root directory where you will store your JavaScript files. Within this folder, create a script.js file where you’ll put any interactivity and logic you wish for your site to have.
Assets Folder
You can also, optionally, create an assets folder to contain any images, fonts, and other kinds of media that your website will be using.
MyFirstWebsite/ Name of your root directory
│
├── index.html
├── css/
│   └── style.css
├── js/
│   └── script.js
└── assets/
    └── images/
    └── favicon/
3. Linking HTML, CSS, and JavaScript
Now that you’ve set up your project structure perfectly, after that you need to link your CSS and JS files to HTML so the styles and scripts apply properly when your website is loaded.
Linking the CSS File
Inside the <head> section of your index.html file, link your style.css file using the following code:
<link rel="stylesheet" href="css/style.css">
This line tells the browser to apply the styles from style.css to the HTML document.
Linking the JavaScript File
At the end of the <body> section of your index.html file, link your script.js file like this:
<script src="js/script.js"></script>
Placing the script tag at the end of the body ensures that the HTML content loads before the JavaScript runs, which can prevent errors and improve performance.
Understanding Essential HTML Tags
Before getting into the actual creation of the HTML structure of your website, let us cover some of the basic HTML tags and their uses. HTML—HyperText Markup Language—is the standard language used to create web pages. It makes use of numerous tags that are used to define a webpage structure and content. Below is the Table that summarizes some of the important HTML tags along with their uses.
| Tag | Description | Example |
|---|---|---|
| <html> | The root element of an HTML document. It wraps the entire content of the page. | <html>………..</html> |
| <head> | Contains metadata, links to stylesheets, and other resources used by the webpage. | <head>……….</head> |
| <title> | Sets the title of the webpage, which appears in the browser tab. | <title>My Website</title> |
| <body> | Contains the content of the webpage, including text, images, links, etc. | <body>……….</body> |
| <h1> to <h6> | Defines headings. <h1> is the main heading, and <h6> is the least important. | <h1> Welcome </h1> |
| <p> | Defines a paragraph. | <p>>This is a paragraph.</p> |
| <a> | Creates hyperlinks to other pages or resources. | <a href=”https://inotecify.com”> Link</a> |
| <ul> and <li> | Creates unordered lists with bullet points. | <ul><li>item1 </li></ul> |
| <div> | Defines a division or section, used to group content and apply styles. | <div>……….</div> |
| <span> | Inline container used to group text or elements for styling purposes. | <span style=”color: red”;>Text</span> |
| <br> | Inserts a line break in the text. | line 1 <br> line 2 |
Why These Tags Matter
These are the baseline tags of any webpage, and understanding their purposes will let you modify your content and see where styling will apply when we move on to looking at CSS. As we work through this guide, you will see how these tags are used in practice to create a well-organized and responsive website.
Building the HTML Structure of Your Website
Now that you have your environment set up, it’s time to start creating the basic structure of your website using HTML.
Creating the Basic Layout
First, you need to make the basic HTML layout, something that defines how your page will be structured, from the header and the main content area to the footer. It is going to be the foundation of your website.
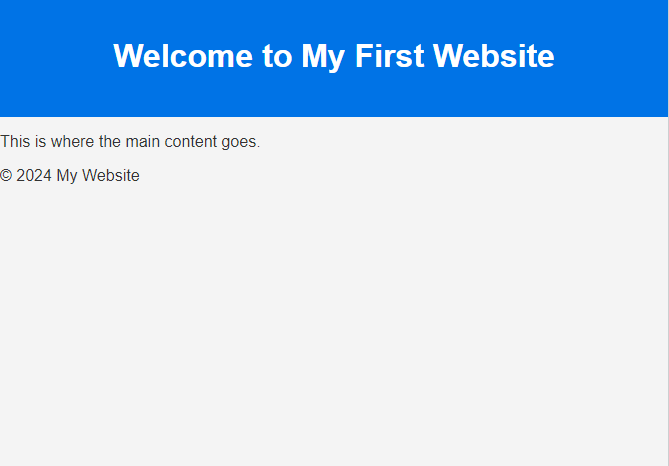
For example, you can create a simple layout with a header, a main content area, and a footer:
<header>
    <h1>My First Website</h1>
    <nav>
        <ul>
            <li><a href="#">Home</a></li>
            <li><a href="#">About</a></li>
            <li><a href="#">Contact</a></li>
        </ul>
    </nav>
</header>
<main>
    <section>
        <h2>About Me</h2>
        <p>This is where I will introduce myself.</p>
    </section>
</main>
<footer>
    <p>© 2024 My First Website</p>
</footer>
Output
Structuring Content with Semantic HTML
Semantic HTML tags, such as header, nav, section, and footer, are used to structure your content semantically. These tags greatly enhance readability, not only of your code but also good for the SEO of the website.
For example, using semantic tags:
<article>
    <header>
        <h2>Latest Blog Post On InoTechify </h2>
    </header>
    <p>This is an example of a blog post using semantic HTML tags.</p>
    <footer>
        <p>Written by John Doe</p>
    </footer>
</article>
Styling Your Website with CSS
Basic CSS Properties
Before moving into the styling part of your website first of all you should remember or know the basic properties of CSS. With the help of basic CSS properties you would easily style your first website without any hesitation for that, we have provided the table below containing basic CSS properties. So you can easily style your website with these properties.
| Property | Description | Example |
|---|---|---|
| color | Sets the color of the text. | color: blue; |
| background-color | Sets the background color of an element. | background-color: #f0f0f0; |
| font-size | Controls the size of the text. | font-size: 16px; |
| font-family | Specifies the font to be used for text. | font-family: Arial, sans-serif; |
| margin | Creates space outside the border of an element. | margin: 20px; |
| padding | Creates space inside the border of an element. | padding: 10px; |
| border | Sets the border around an element, including its width, style, and color. | border: 1px solid black; |
| width | Defines the width of an element. | width: 100%; |
| height | Defines the height of an element. | height: 300px; |
| text-align | Aligns text within an element (e.g., left, right, center). | text-align: center; |
| display | Specifies how an element is displayed on the page (e.g., block, inline). | display: block; |
| position | Defines how an element is positioned on the page (e.g., relative, absolute). | position: relative; |
| float | Allows elements to float to the left or right of their container. | float: left; |
| clear | Used to control the behavior of floating elements. | clear: both; |
| overflow | Controls what happens if the content overflows an element’s box. | overflow: hidden; |
Applying CSS Properties
These very fundamental CSS properties give you a strong foundation to style your HTML elements effectively. As you start building and styling your website, you will be able to see how these properties piece together to help you display a beautiful and functional design. With each property being able to combine and adjust within itself to hit specified design goals, the outcome is limitless creativity in web development.
Now it is the time to make your styling your website to make it beautiful and user-friendly with the help of CSS you can easily make your first website eye-catching and engaging. through CSS you can control the looking part of your website and turn your website from a skeleton into a user-friendly and responsive website.
Applying Basic Styles
Add basic styling to your HTML elements by setting fonts, colors, and backgrounds. You can use CSS to create spacing and alignment on your content.
For example, you can style your body text and background:
body {
    font-family: 'Helvetica', sans-serif;
    background-color: #e0e0e0;
    color: #333;
    margin: 0;
    padding: 0;
}
Output

Layout Techniques with CSS
CSS provides highly effective layout techniques that make it possible to build complex designs very easily. The Box Model helps you when creating responsive and flexible layouts. The Flexbox or Grid is also important.
Box Model
The CSS Box Model describes the layout of elements, comprising margins, borders, padding, and content, and understanding how these properties interact with one another, which is important for controlling both the spacing and layout.
Flexbox
Flexbox is very powerful CSS layout that provides a fast and efficient way to align and distribute space among items in a container. It is the perfect layout for creating a responsive website and layout that adapts to different screen sizes without making the website bad looking.
CSS Grid
CSS Grid is another powerful layout system that allows you to create two-dimensional grid-based layouts. It’s ideal for complex designs requiring precise control over rows and columns.
Responsive Design Principles
Responsive design is a crucial part of any website website responsiveness plays an important role in ensuring that your website looks great on all screen sizes without any hurdles. With the help of media queries, you can easily make your website responsive for all devices.
For example, a basic media query:
@media (max-width: 600px) {
    body {
        font-size: 14px;
    }
}
If you have already developed your website but struggling with it is responsiveness do not be hesitate to read our guide on how to create a responsive website. It will surely help you to create a great and responsive website in that guide we have covered all the major things you can adopt to make an outstanding responsive website.
Adding Interactive Elements with CSS
CSS isn’t just for styling static content—it can also be used to create interactive elements that enhance the user experience.
Creating Hover Effects
Hover effects are a simple way to add interactivity to your website. For example, you can change the color of a button when the user hovers over it:
button:hover {
    background-color: #0073e6;
    color: #fff;
}
Using CSS Transitions and Animations
CSS transitions allow you to smoothly animate changes to CSS properties, such as colors and sizes. This can create a more dynamic and engaging user experience.
For example, animating a button on hover:
button {
    transition: background-color 0.3s ease;
}

button:hover {
    background-color: #0073e6;
    color: #fff;
}
Implementing Simple CSS Animations
CSS animations allow you to create more complex animations using keyframes. For example, you can create a loading spinner which is also called a preloader:
@keyframes spin {
    from { transform: rotate(0deg); }
    to { transform: rotate(360deg); }
}

.spinner {
    width: 40px;
    height: 40px;
    border: 4px solid #ccc;
    border-top: 4px solid #0073e6;
    border-radius: 50%;
    animation: spin 1s linear infinite;
}
Testing and Debugging Your Website
After creating your first website with HTML and CSS, the next thing to do is test and debug. This would help ensure the website runs at good speed on any device and browser. Below is the guide on how to test and debug your website successfully:
Device Emulation
Device emulation is a powerful tool that allows you to simulate your website on various devices, such as smartphones, tablets, and desktops. Tools like Chrome DevTools offer built-in device emulation, where you can select different screen sizes and resolutions to see how your site looks and behaves on different devices.
Cross-Browser Testing
Cross-browser testing is essential because your website needs to work well on all major web browsers like Chrome, Firefox, Safari, and Edge. Each browser may interpret your CSS and JavaScript slightly differently, so testing on multiple browsers will help you to identify any compatibility issues.
Tools like BrowserStack or CrossBrowserTesting allow you to test your site across a wide range of browsers and operating systems. They also offer debugging tools to help you identify and fix issues specific to certain browsers.
Performance Testing
Performance testing ensures your website loads quickly and runs smoothly. A fast website not only improves the user experience but also helps with SEO rankings. You can use tools like Google PageSpeed Insights, GTmetrix, or Lighthouse to analyze your website’s performance.
These tools provide insights into factors like page load time, image optimization, and the efficiency of your CSS and JavaScript. Based on the analysis, you can take steps to optimize your site for better performance.
Debugging Common Issues
Debugging is an ongoing process in web development. Common issues include broken links, unresponsive elements, and layout problems. Modern browsers like Chrome and Firefox come with built-in developer tools that allow you to inspect HTML elements, view CSS properties, and monitor network activity in real-time.
For example, if an image isn’t displaying correctly, you can use the “Inspect Element” feature to check if the file path is correct and whether the image is loading from the server.
Optimizing Performance for a Responsive Website
It is great when a responsive website looks nice, but it should also load fast and actually work. The following are a few strategies to optimize your website’s performance:
Minify CSS and JavaScript
Minifying CSS and JavaScript eliminates extra spaces, comments, and characters from your source code. It makes the file size small and, hence, makes your site load faster. Tools like UglifyJS for JavaScript and CSSNano for CSS will help you minify your code easily.
Optimize Images
Images are the largest files of a website, making up a good impact on load time. Compress your images using TinyPNG or ImageOptim. Serve in next-generation formats like WebP that provide good compression without compromising on quality.
Use a Content Delivery Network (CDN)
The reason a CDN works is that it keeps copies of your files on servers across the world so that it provides this content from the closest server to the user, speeding up delivery. Popular CDNs like Cloudflare and Amazon CloudFront can really shorten load times and significantly enhance the overall user experience.
Maintaining Your Website
After launching your website, it is very essential to have it maintained regularly so that it runs smoothly and is secure.
Update Regularly
Keep your code, plugins, and libraries up-to-date. By doing so, you will protect yourself against security vulnerabilities and be able to use new features that have been released. Regular updates will also be compatible with the recent web standards.
Monitor Performance
Test your website from time to time for speed and responsiveness. There are several tools, like Google Analytics, that can give a feel for how well your website is doing and pinpoint areas that may need work.
SEO Optimization
Responsive design is one of the most important things concerning your overall SEO strategy. Ensure that your website is mobile-friendly, with fast loading time and a great user experience so as to have great rankings in the search results.
Conclusion
Creating your first website with HTML and CSS is a great milestone on your way to becoming a web developer. You will then create a responsive website, that will look nice, work, and perform nicely on all devices by mastering the basics, setting up your environment, and best practices for styling and optimization.
In case you are after a laptop to complement your web development needs, then we have also got that covered in an in-depth guide: best laptops for programming. Ensuring that you have the right tools may make a huge difference in your development process.
Frequently Asked Questions
Q: What is the difference between HTML and CSS?
Ans: HTML stands for HyperText Markup Language and is used to structure content on a website—things like headings, paragraphs, and images. CSS stands for Cascading Style Sheets and is used to style that content, controlling things like its color, fonts, and layout.
Q: Do I need to know JavaScript to build my first website?
Ans: Nope, JavaScript won’t be required to build a simple website. You could actually make a fully functioning and good-looking site with just HTML and CSS. But knowing a bit of JavaScript really helps in making your website interactive.
Q: What are the essential tools needed to start building a website?
Ans: Basically, to be a web developer, one needs a code editor like Visual Studio Code or Sublime Text, a web browser such as Chrome or Firefox to test the site and a basic knowledge of HTML and CSS.
Q: How do I create a responsive website with HTML and CSS?
Ans: Write different styles for different screen sizes using CSS media queries, so that your website looks good on all devices such as desktops, tablets, and smartphones.
Q: How do I link CSS to my HTML file?
Ans: You can link an external CSS file to your HTML file by placing the following line of code within the head element of your HTML document.
<link rel="stylesheet" href="style.css">Q: What are some common mistakes beginners make when building their first website?
Ans: The most common mistakes are misstructuring of the HTML, putting an inline style and not an external one for CSS, not testing on other browsers, and not having responsiveness in a website.
Q: How can I make sure my website is accessible to all users?
Ans: Ensure accessibility by using semantic HTML tags, providing alt text for images, ensuring sufficient color contrast, and making your website navigable by keyboard.
Q: What are the best practices for writing clean and maintainable HTML and CSS code?
Ans: Some of the best practices include descriptive class and ID names, organizing your code with comments, avoiding inline styles, and keeping your CSS files separate from your HTML.
Q: Can I use templates or frameworks when building my first website?
Ans: Yes, definitely. You can work faster in building a website and achieve an overall better outcome if you use templates or a framework like Bootstrap. It is, however, pretty important that the basics of HTML and CSS are learned first.
Q: How do I publish my website once it’s built?
Ans: You will have to choose a web host and a domain, then transfer your HTML, CSS, and all the rest of the files which would be required on the server. After that, you’re able to set the website live on the internet.